Wow, you’re still here huh? I feel like at this point I should preface this next post with the fact that we’re moving on to a mixture of conjecture and educated guesses. While I ultimately have consulted a fair amount of lightfastness charts for historical pigments: because of the complexity of dye recipes and the different mordants used, how accurate they are is questionable. Beyond that, they’re not available for everything. So, even if I find something that seems like a perfect match: there may be something else that is an equally valid estimate.
I would love to do light fastness tests on two or three dozen dyes with very specific recipes to sate my own curiosity. In consideration of time, I’m going to have to somewhat make do with the research provided by other experts and hold off on that more complicated science project until a later date.
These photos are not my own. Photos are courtesy and copyright the Conservation Department and the Curator of Bookbinding from the British Library. Shelfmark C17A23
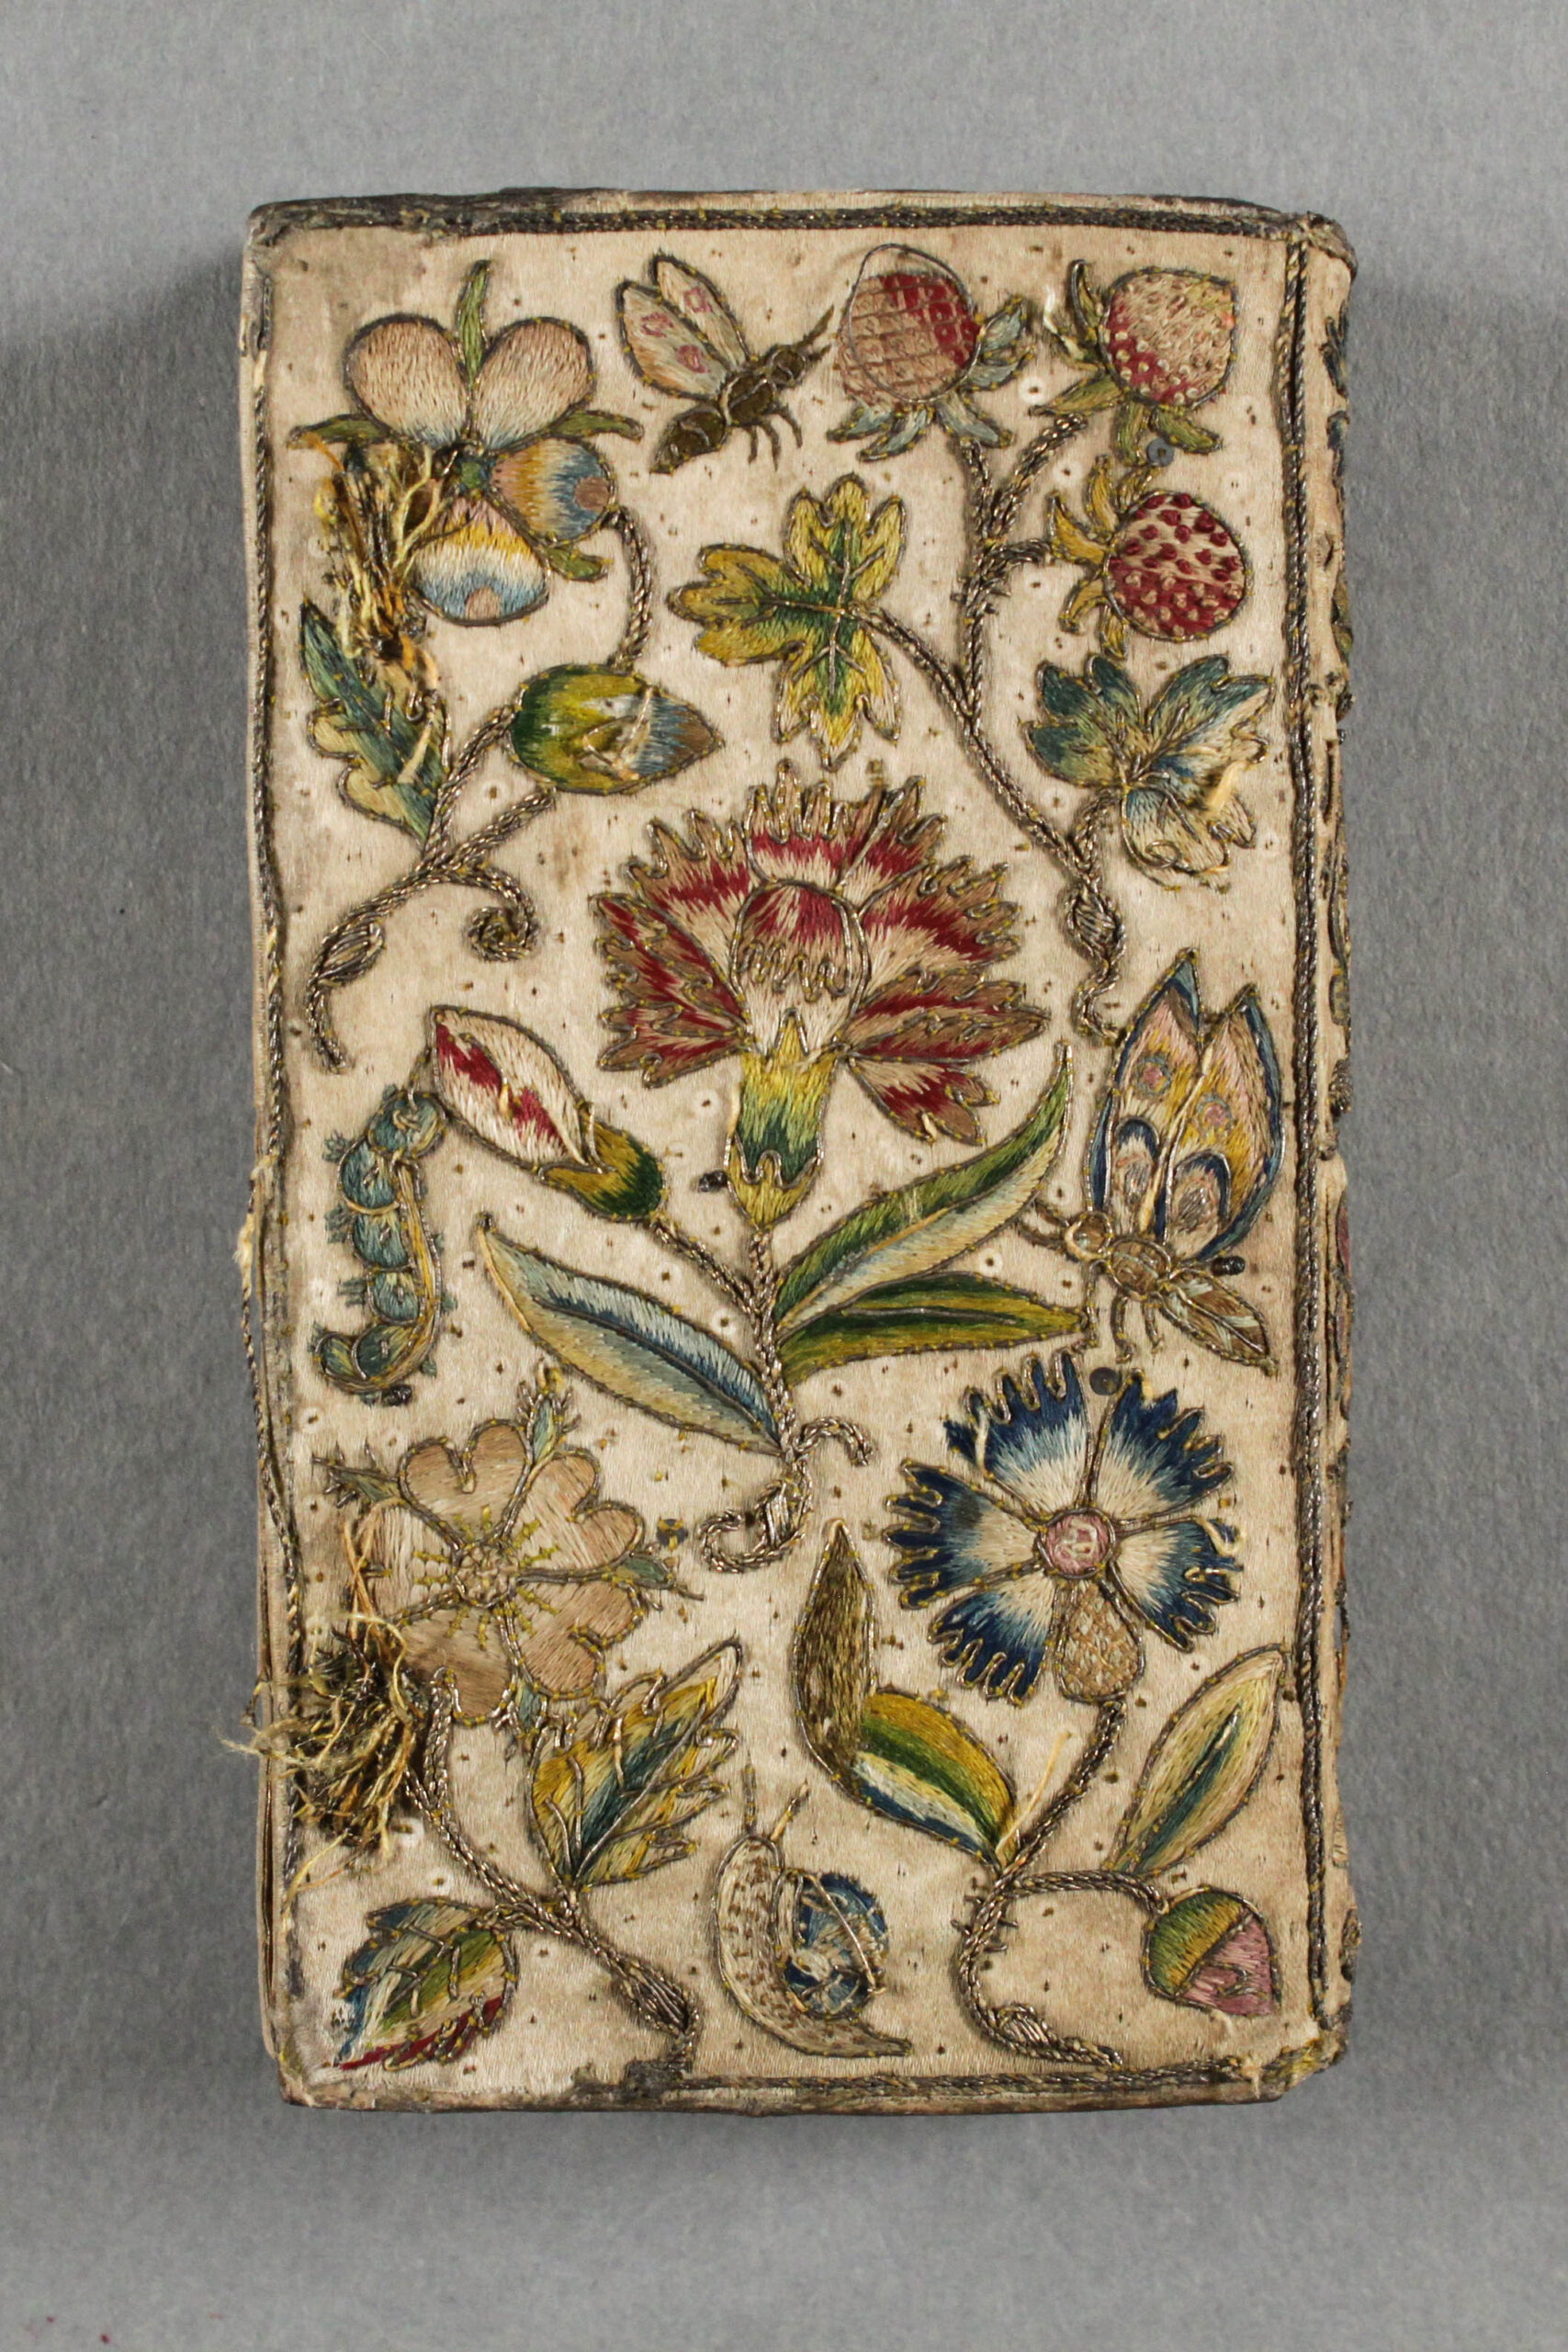
Back cover
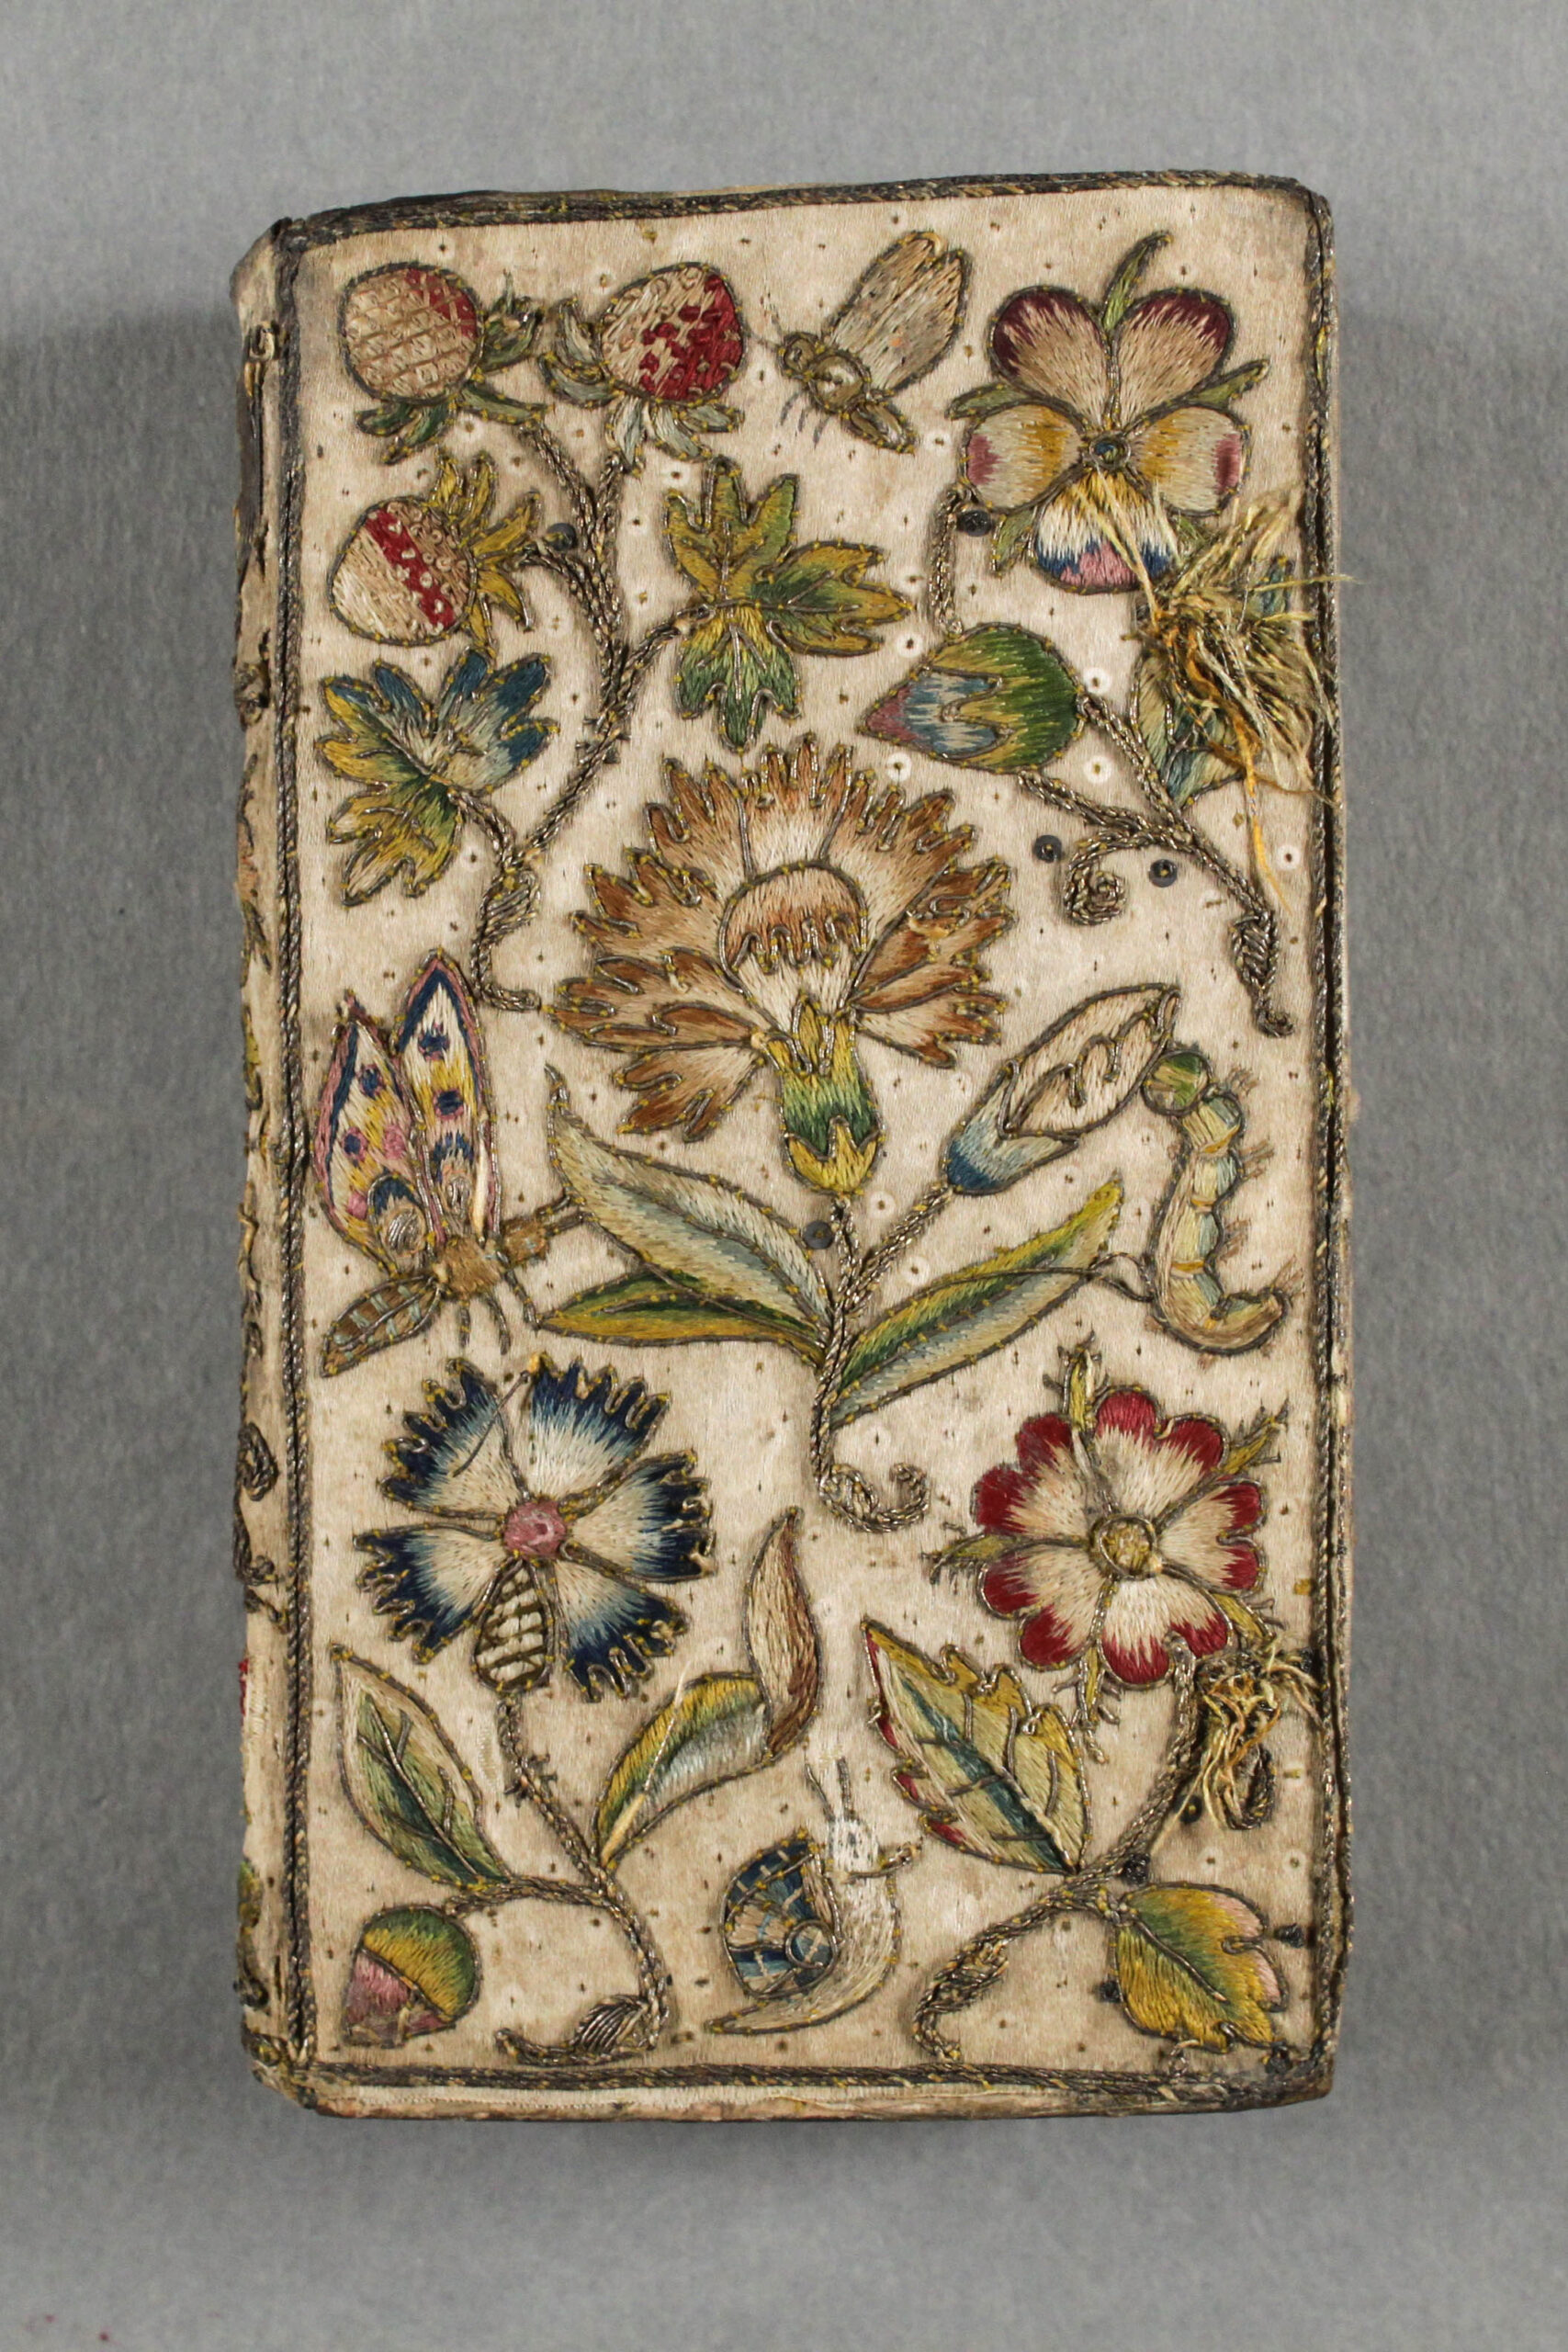
Front cover
Color 1 of 3
So let’s start by tackling the remaining colors in the golds and also the colors in the orange and copper range. Specifically, three colors that are in the foliage. We’ll start with the easy one. The goal is to establish the missing color from the rainbow leaf on the back cover (figure 4).
First, there are four colors in the red carnation on the back of the book (figure 1). We probably won’t start breaking down what those four colors are until next time. For now, all that matters is there are four of them.
Second, we can use that to settle doubts as to where there are three or four thread colors in the carnation on the front of the book. I thought there were four, but questioned myself because the appropriate thread collection (Flame) from Tricia Nyugen only had three variants. Because the back had four colors, I doubled down on my initial belief. Side note, I think You can see the “flame” carnation in figure 2.
Third: In the same way that the red carnation lends its lightest three colors to the rose color on the front. The flame (I’m just going to run with that description) carnation lends its lightest three colors to the 5-petal flower on the back (figure 3).
Fourth: Finally, finding out the missing color on the leaf then becomes really easy. The rose on the back is almost direct on top of the leaf in question. So the bright copper serves as the interim between the weld yellow and the red.
For me the closest matches for the B1-B3 dies are from the Chinese silk vendor I mentioned last time, Suzhou Embroidery Arts & Crafts Shop. They call the color range “Bosanova”: 30-6 (B1) 30-9 (B2) 30-11.

Figure 1
Carnation, back side. Bear with what seems like a random numbering system. Hopefully they’ll make more sense in the next blog. I’m using zero to represent undyed/white silk floss.
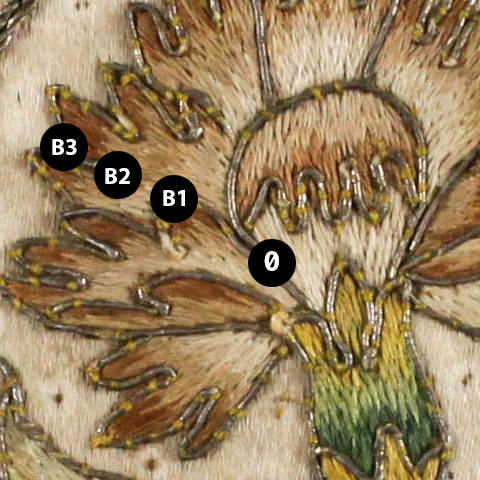
Figure 2
Carnation, front side.
I have labeled these
B1–B3 because I believe that buckthorn is the most likely source of the dye. Take a look at these buckthorn experiments by Leena Riihelä.
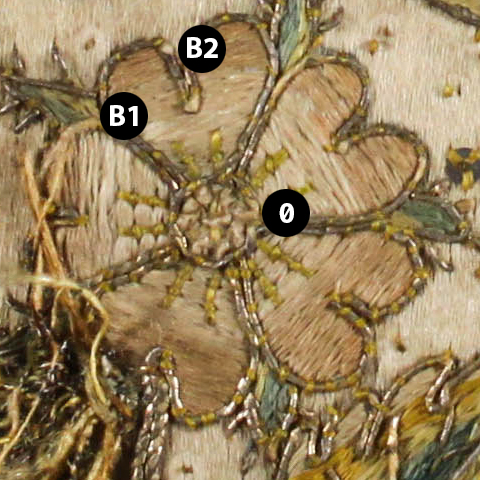
Figure 3
This rose from the back has three of the four colors from the carnation on the front cover. Hopefully you can see that B2 is a match with faded portion of the leaf in figure 4.
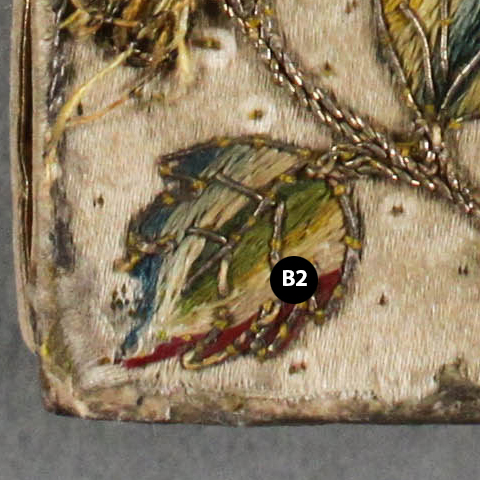
Figure 4
Even though it might seem obvious that orange is the logical middle step between yellow and red, cross comparing to other parts of the embroidery allows us to get more accurate.
Color 2 of 3
Okay, so, moving on. I believe this next color is also somewhere between orange and copper. We have already established in the first section that the leaves do change color and do run through the orange spectrum. These are not the same dye though. Since it’s difficult to see the distinction between the two, I’ve stacked them on the right. As you can see, what remains of the color M1 (M for missing) is much pinker than any part of the B1-B3 scale. In fact, the remaining portion of the M1 in figure 5 is pinker than the remaining portion of something that I know is pink (We’ll get to it in part. I promise. Probably next blog).
I believe that the threads labeled M1 in figures 5-8 are are the same dye. They all appear at the edge of the leaf immediately after the pure weld (W3 from part 1 of this series). There’s not that much to go on though.
We can work by examining the pattern established by the leaf in figure 4, which moves in a progression from yellow to orange to red towards the outside of the leaf. That leaf, and the examples below are the only places where that yellow appears at the interior of the leaf, beneath another color.
From there we have to start looking at orange dyes and light fastness tests and see what we can find. So a short list of orange dyes in the Elizabethan period: Annatto and Fustic are both orange dyes. Various over dying combinations could create orange by combining yellow. However, as we’ve previously discussed: Weld has incredible staying power. So, if its a combination of two things, it would have to be a different yellow with inferior fastness. Fortunately, given the number of variables, I’m pleased to say we don’t have to actually dive into all that.
There’s a wonderful paper called The Light-Fastness of Natural Dyes by independent researcher Tim Padfield. He actually includes a number of other things, but some of them (like quercitron) post-date our period. The most faded portion of the fustic dyed silk is a perfect (please see earlier disclaimers) match when laid next to our mystery pigment.
The best thread match I have is also from Suzhou Embroidery Arts & Crafts Shop. It’s one of the darkest shades of the golden yellow collection (51-6).
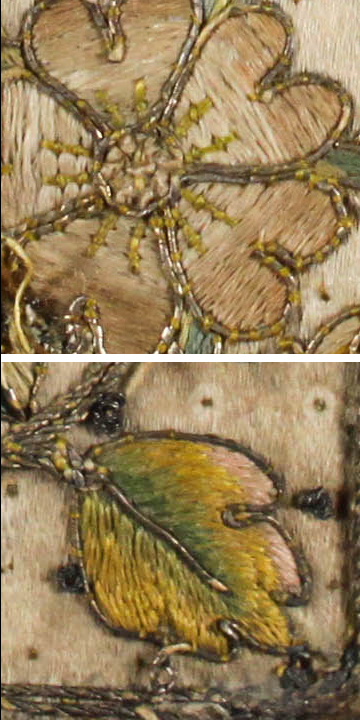
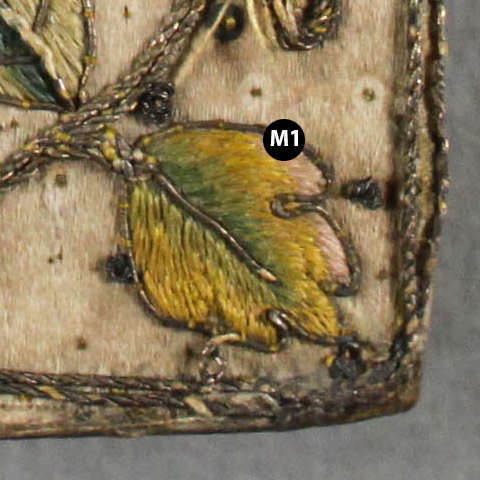
Figure 5
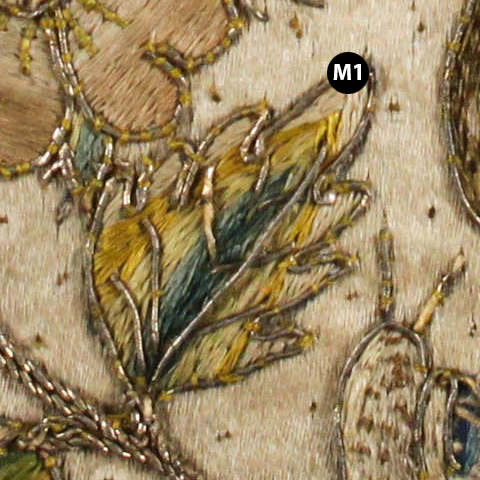
Figure 6
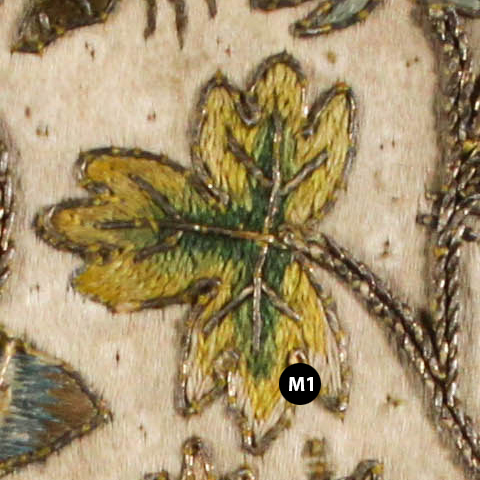
Figure 7
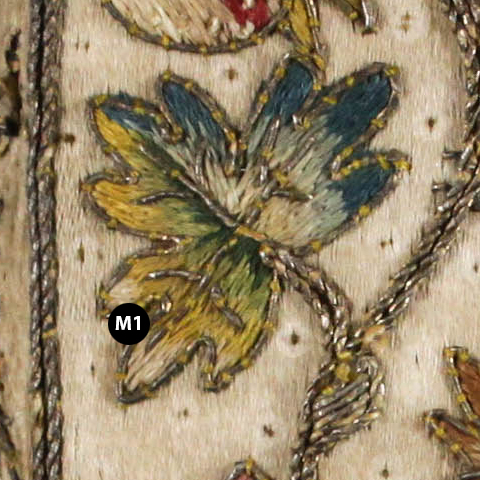
Figure 8
Color 3 of 3
I wish I had some sort of brilliant research on this, but let me tell you: there’s functionally nothing to go off other than carrying over established precedent from other parts of the piece. So far as I can tell, there is no remnant of the original color left.
So instead: here’s what we know about how the leaves are constructed elsewhere on on the piece:
The colors move out from the center of the leaf, either light to dark or dark to light. Following green, moving to the outside, the other examples would have us moving to either a yellow or a lighter green.
So because the center of the flower on the back is already our green gold, we must be looking for a very light color. A super light green might have enough enough contrast with the leaf on the front, I personally don’t believe that it would have enough contrast with the black.
That leaves us with a super light yellow. If it were weld, as previously discussed, we would have some remnant of it left. Weld has incredible fastness. And there would be no reason to not use weld if the yellow was going to have the same golden tone.
That leaves us looking for a period light yellow with a markedly different tone: It could have been saffron or calendula aka marigold or medievally (Mary’s gold) as it was the poor man’s saffron. Onion skins will make shades of yellow, but they veer warmer, infringing on territory of weld in my opinion. I’m heading towards a light calendula; mostly so that it’s distinctive enough compared to the other yellows.
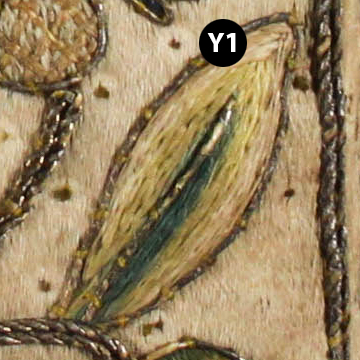
Figure 9
This is the example on the back cover. You can see why I’m having to rely on an educated guess and also why we have to choose a very light color.
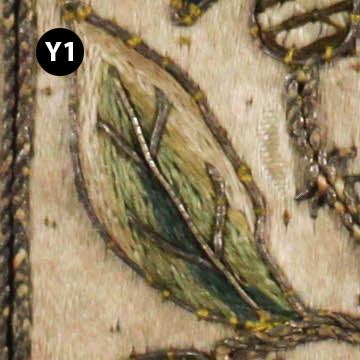
Figure 10
This is the corresponding leaf on the front. It’s in the same spot on the motif.
Recent Comments